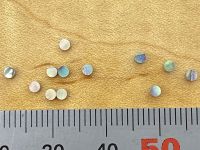
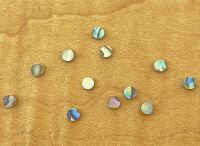
Inlay Blank - Green Abalone 1.25mm - 42mm x 22mm
In stock
SKU
IN-112-412
$27.70
- Buy 3 for $23.55 each and save 15%
Abalone blank for cutting custom inlays
- 1.25mm (0.050") thick
- 42mm x 22mm - approximately 1/8 ounce
- Premium quality
- Natural shell
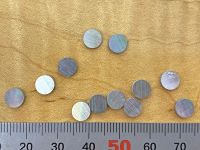
Abalone is used frequently for fingerboard inlays, headstock logos and decorations. Green Abalone comes from the west coast of North America, the shell has a light pink colour with vivid patterns of green and black lines and great iridescence.
1.25mm thick stock is good for both fingerboard and headstock inlays. Thicker material is better for fingerboard inlays as the radius of the fingerboard will not make the edges too thin.
The blanks can be cut to shape using a jewellers saw. The inlays should be installed into a cavity made by routing or chiseling.
Always wear a dust mask when sanding and cutting pearl as the dust may be hazardous if inhaled.
Related Products
We found other products you might like!
Green Abalone blank to cut custom fingerboards and headstock inlays
The best way to cut these blanks into inlays is using a jewellers saw. The blades in these saws are much finer than any other saw and will cut the shell without breaking it and leave a clean edge that needs little smoothing out.
A cavity needs to be made in the timber for the inlays to be installed in. The best way to create this is with a Dremel router and small downcut bit. If a Dremel isn't available the cavity can be made with a small sharp chisel.
The inlays should be set in using epoxy with some sanding dust mixed into it. The sanding dust should be the from the timber being inlaid.
Once the epoxy has dried level the inlay to the timber using a hard sanding block or fingerboard radius block with sandpaper attached with double-sided tape. This hard block will help keep the surface level.


